photo recipes-1.png  photo wedding.png  photo homeprojects.png  photo blogroll.png  photo travel-1.png
Showing posts with label wedding. Show all posts

Thursday, January 17, 2013

Wedding Ettiquette: Send back your effing RSVP!

source.

When I was planning our wedding, the biggest stress factor was not centerpieces, flowers, in-laws or budgets. The one single thing that caused me the most stress was the fact that people were apparently incapable of sending back an addressed, stamped RSVP card. 

One of Graham's friends is getting married at March, and we received the invitation in the mail today. (Oh, and here's a helpful tip for future brides & grooms: put a last name SOMEWHERE on the freaking invitation...) We're not going to be able to attend, so I immediately sent back the RSVP card. It literally took less than 30 seconds to write our names, check a box, and put it back in the envelope & seal it. Thirty seconds. So it got me thinking... why is it so damned hard for people to RSVP to a wedding? The person whose invitation we received today did not RSVP to ours. He didn't send back the (stamped & addressed) postcard, or respond to the multiple texts Graham sent, so I was tempted not to respond. Unfortunately my southern manners & seven years of Hallmark has ingrained proper etiquette in me, so I sent it back. 

So, just in case anyone needs a little lesson in sending back an RSVP card, I'm going to break it down so that you all know how easy it is. 

1) First you get the invitation in your mailbox one day.


2) You open the envelope and pull out several items, and admire the invitation. Admire the time & money someone spent picking out (or designing) the perfect invitation & RSVP cards. Our RSVP was a postcard (cheaper postage, FTW), but in addition to the invitation & RSVP card, you may have a small (addressed & stamped) envelope.


3) Look how easy it is. You just write your name in the space provided, check a box & write in how many people are attending.


4) Look at that! There is already a stamp & an address! So all that's left is to put it in a mailbox somewhere. 


So there you have it! Sending back an RSVP card takes less than 30 seconds. And it relieve so much stress from an overwhelmed bride. Do you have any idea how satisfying it is to check guests names off of a list? Do know how stressful it is to not have an RSVP, and have no clue if people are coming? What do you do? Just tell yourself they are coming, and then spend the money as if they are? What if they don't? You're out a lot of money. Or just assume that they aren't coming. And then they do, and you don't have enough seats, food, alcohol, cake, favors, etc.

Although, what might even be worse is having people RSVP and then not show up. We had about 15 people RSVP "yes", and then not show up. Thanks for that, by the way. Those 15 people wasted $300 for us. Please keep that in mind when you're making your plans. Weddings are not cheap, and every little bit helps when you don't have a Biltmore sized budget. 

Monday, March 12, 2012

Our Wedding: The Photography


I currently live in Arkansas, but our wedding was in the Charlotte area, so I never had a chance to meet the Jessica (and her husband/partner Jeremy) until we met in downtown Charlotte for our engagement pictures. I asked for recommendations on Twitter one night, and got a few good prospects. One of them being JJ Horton Photography. I ultimately picked them based on the quality of the work I had seen on their site, the recommendation from an acquaintance from college and (very importantly) they were in our budget.
 
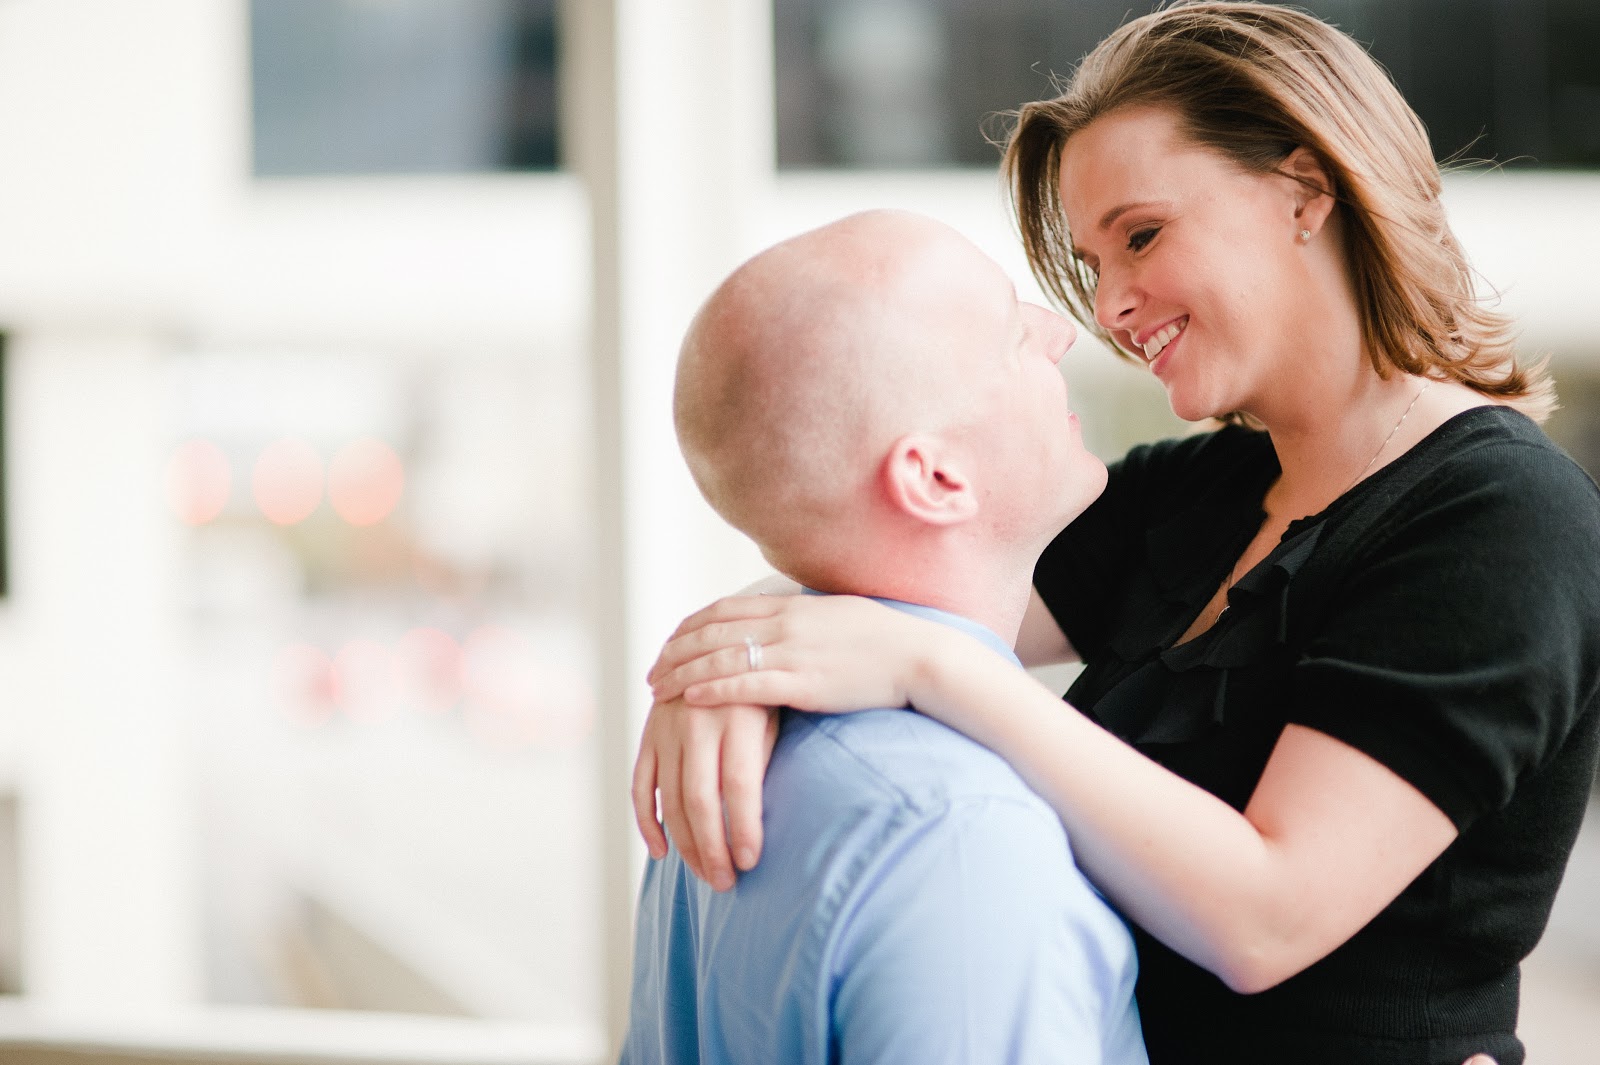
I didn't really know what to expect, and I was really nervous. I would have liked to have met them in person before booking to get a sense of their personalities and whether or not we would work well together, but the long distance planning & the need to book services pretty far in advance made that impossible. I'm a professional bridesmaid, and a lot of the photographers I've been around in the past were not exactly my style, having leaned more towards posed, formal pictures than relaxed and fun candid photos. That definitely was not the case and Jessica and Jeremy immediately helped put me to ease. We chatted and made small talk while we walked around downtown and by the time they started shooting, I was more relaxed. What I loved most about our e-session was that Jessica would tell us where to stand, and tell us just to be ourselves and talk to one another and she and Jeremy would start shooting. Of course there were some posed pictures, but they seemed interested in letting our personalities and how much we love each other shine through. (You can check out some of our "engagement" photos here =))
 
With our wedding, we had an even better experience. (First of all, they were the only people who were on time the entire day =)) Jessica took the time to get to know me through twitter, pinterest and Facebook, and I think the photos from our wedding reflect that. I spent a lot of time worrying (and tweeting) about centerpieces and place settings, and gushing about how gorgeous my cake was going to be, and she captured all of those things. Her detailed shots of my wedding cake made me so happy since I hated cutting into it and ruining that perfect cake. She definitely takes the time to get to know her clients and listens to what they have to say and what they want, so that they can have the perfect photographs from that day.
 
I LOVE that the photos from the reception captured SO much of the fun from the evening. They seemed to have a knack for getting the shot when someone is laughing their hardest, or when people are slow dancing and you can absolutely feel the love. My in-laws are the most happily married couple I have ever known, and they got a series of shots of them dancing and laughing, and the pictures are just absolutely perfect. I saw things that I never noticed during the night, and I think I must have looked at them a 1000 times already. They managed to capture SO much... from my brother-in-law getting down & dirty on the dance floor, to my 4 year old cousin dancing with her older brother. 
  
Picking a wedding photographer is, in my opinion, the second most important decision you have to make when planning a wedding (the first is the cake =)). When the day is over, all that is left is the marriage and the pictures from the day. There are a lot of ways you can cut corners when wedding planning to save money, but the photography is not one of them. JJ Horton Photography ended up being slightly over our budget, but it was worth it, in my opinion. Every time I look at the framed images on my wall, I smile. When I'm bored I'll flip through my pictures on Facebook and smile as I remember our perfect day. Be sure to find the right photographer to document that day.
 
And on a seperate, but related note, buying the disc of digital images may seem pricey, but it is also absolutely worth it. I'm not one for the fancy, expensive albums. I'm happy with the book I had printed from My Publisher and the enlargements I ordered from Snap Fish, but none of those things are possible without buying those images. You can't upload them to facebook, share them on a blog *ahem* or anything else without that disc.


Every single photo here was taken by JJ Horton Photography.

Monday, February 13, 2012

Our Wedding: The Cake

The second in a yet to be determined series of posts about our wedding. This one is about my favorite aspect of the whole event: my our cake.

Photo by JJ Horton Photography

I knew exactly what I wanted my cake to look like, but thanks to Cake Wrecks, I was terrified about finding a baker. I looked at a few people. Some were out of my price range, and others took three weeks to return my call (note to any wedding professional who may read this: DON'T DO THAT.). When I was browsing the Knot one night, I came across Cake Lady Jill. She had excellent reviews, had been featured on Style Me Pretty, and has been named one of the best wedding vendors in NC by the Knot members for the past two years. I assumed she would be out of our price range, but her prices are very reasonable.

Photo by JJ Horton Photography

After looking at her work, I knew she could handle my whimsical cake, so I took a chance and went ahead and booked her before being able to sample her cakes (a BIG downfall of planning an out of town wedding). But when I was home in October for my bridal shower, my mom and I met with her to do a tasting, and I was absolutely blown away. First, she is a ball of energy and has the most fun personality ever. She had pretty big sized pieces of each of her cake flavors, all of her fillings and frosting flavors laid out as well. She assembled pieces for both of us with her flavor recommendations.

It was very, very hard to choose. I wasn't a huge fan of the almond cake (it tasted like marzipan) but everything else was delicious. ESPECIALLY the lemon cake. Oh my goodness. That was the flavor we picked for the biggest tier. It was lemon cake, filled with fresh strawberries and lemon curd for the first layer and cream cheese frosting for the second layer. It was covered in Italian meringue buttercream and then covered in fondant.

Photo by JJ Horton Photography

Our top layer was even more delicious. It was a simple vanilla cake filled with raspberry jam, lemon curd and a layer of fresh raspberries. It was one of the best cakes and flavor combinations I've ever tasted (I've now started mixing lemon curd and raspberry jam at home and topping vanilla ice cream with it).

The middle layer was my least favorite. It was chocolate cake filled with raspberry buttercream and fresh raspberries. It wasn't my favorite, but it was still very good. I'm just not a big fan of chocolate cake unless they are seriously mounded with a creamy buttercream frosting. But Jill told me that every wedding she does, people always ask which layer is the chocolate one, and mom recommended I do at least one chocolate layer as well.

Photo by JJ Horton Photography

Jill was a pleasure to work with. When I met with her and showed her what I had in mind, we talked colors and design and she emailed me three sketches of cake designs based on what we had discussed. I didn't love one of them, so I emailed her and she promptly sent me another one (which ended up being the one). On the way of the wedding she arrived to set up while we were out doing pictures and set the cake up quickly. Our friends who were at our venue were seriously impressed at such a small woman just hoisting the cake up above her shoulders considering how much it weighed.

I absolutely can not recommend Jill enough. Anyone getting married in the greater Charlotte area should definitely schedule a consultation with her ASAP.

Friday, February 10, 2012

Our Wedding: The Look for Less

Photo by JJ Horton Photography

It's been a over a month since Graham and I had our big wedding (we were legally married on April 23 before he deployed). I've been anxiously awaiting our pictures from the big day so I could write about it. Because really, how could I write about our perfect wedding without some pictures.

There are so many different aspects to a wedding, and if I wrote one post about the whole thing it would be the size of a short novel. So I thought I would write about the wedding, and then devote separate entries to each of my vendors.

Planning this wedding was an adventure. It was incredibly challenging trying to plan a wedding 800 miles away and alone since Graham was deployed. It was also challenging because I had a certain idea in my head of how everything should look. Specifically the tables. Not being able to let go of small things contributed to many, many head aches. However, once Graham came home from Kuwait, my opinion on a lot of the wedding stuff changed. I still wanted things a certain way, but I learned that some of the small things I had been completely obsessed with were not important.

For months I was adamant that we use real glass dishes, glass drink ware and proper silverware, cost be damned. For months I was not going to be deterred. I needed 120 glass dinner plates, 240 small plates for salad and wedding cake, and enough glasses for 120 people to have beer, wine, champagne and water or tea. Once I finally realized that no one besides me would care if we used real plates, I caved and bought a bunch of the clear plastic ones from Sam's. I also let go of my "no beer bottle" policy (but I stayed firm on no beer cans). I realized that letting people drink out of bottles would save money on glassware, save our bartender time, and would make cleanup so much easier. 

Once we were finished setting up the tables for the wedding, I realized how silly my obsession with real glass and silver was. Our tables looked stunning. Instead of real silverware (and the cheapest stuff I could find looked really cheap... think public school cafeteria quality) we bought three boxes of the plastic stuff that looks real. And until you picked it up, you could not tell the difference! That ended up costing around $50. I didn't give in on the glass drink ware, but I eventually compromised. We figured maybe half of our guests would drink wine. So we bought 60 wine glasses, and we made sure that we had one water/tea glass for each person. The glass at each place setting really helped bring the look I was going for together, and we ended up with a lot of wine glasses left that had never been used. We ended up spending around $100 for glass drink ware (not including the crazy expensive Swarovski toasting flutes we had for ourselves). We also abandoned the idea of having a complete champagne toast. We bought two bottles, one for us (I wanted to try pink champagne) and one for our wedding party. Graham's best friend was the only one who toasted, and we figured every one else could lift whatever glass & beverage they had at the moment.

Photo by JJ Horton Photography

The other big thing I obsessed over were the centerpieces. Centerpieces were a big one for me. Even more important than real plates =) I knew all along I did not want to spend the money on floral centerpieces. To me, flowers are the biggest scam in weddings. They are so expensive, and they're already dead. To me it's basically just throwing money away. (I even looked into alternatives for the bouquets, like these cute paper flower ones.) I also knew I wanted something substantial in size. I really can't stand super small centerpieces on a big table. After many, many ideas, I finally was inspired while I was home for a weekend and browsing in Ikea. I saw these large silver lanterns and could picture it so vividly. I bought one to bring back to Arkansas with me to play with and figure out if it was what I had been looking for. It was absolutely what I had hoped for. So when we were home for Thanksgiving we bought quite a few more. The metal of the lantern looked like galvanized steel, so we bought some brushed metal spray paint from Krylon, spent a couple of hours painting them and they were perfect! We filled them with pine cones spray painted in our colors and white pillar candles, bought at crazy cheap prices thanks to many, MANY Kohl's coupons and had 12 absolutely perfect centerpieces for about $25 each.

We had planned to sell most of the lanterns after the wedding, but they were a huge hit. So, we gave them to friends and family as a way to say thank you (we had a group of 12-13 people who helped us  make hot chocolate jars and cut out felt flowers for four hours one night). We of course kept one for our home, but the rest all found homes in North Carolina.

Photo by JJ Horton Photography

Favors were important to me, but those were fairly easy. I knew I wanted something that people would actually use and hopefully enjoy. So many of the cutesy favors on theknot.com just were not practical. One little votive candle? A single coaster with our picture on it? Measuring cups? No thank you. I decided early on I would do an edible favor. I had initially wanted to do cupcakes in a jar, but with everything else we were doing, I didn't want to have to bake 120 cupcakes the night before the wedding. Then I saw little jars of hot chocolate on Pinterest, and I knew that would be perfect. These were a breeze to make, other than tracking down the jars. Apparently there were only two cases of small jelly jars in the entire state of Arkansas. There were a ton in North Carolina, so we waited until we were home to get these. They were so easy to make. Just non-dairy creamer and hot chocolate mix, topped with mini marshmallows and mini chocolate chips. These were a big hit too. When made with milk, it's some of the best hot chocolate I've ever had. I made a cute monogrammed insert to jazz up the jar, and then tied a navy ribbon around the edge. They were adorable and looked so cute on the tables.

Photo by JJ Horton Photography

The part of our decor that was the most labor intensive was the felt flower napkin rings. I got a great deal on the navy napkins on Craigslist ($60 for 130 napkins!!!), and decided to add a pop of color with the flowers. These were cute, easy but took FOREVER. I mean, seriously. FOREVER. While Graham was deployed, I spent several hours making them one night and only ended up with 15. Graham and I worked on them for three hours one night, and made about 25. So, a few days before the wedding Graham came up with the idea of getting a bunch of friends and family together and putting everyone to work cutting and tracing and gluing. With 12-13 people working, we spent four hours on it that first night and still didn't finish. So the next night we had about 6 of us working on them and we finally finished.

I LOVE how they looked on the navy napkin. It made the table look so fun and playful. It was also fun seeing everyone who helped us cut felt actually see the result of their hard work. Our little wedding elves were so proud of their work. And a lot of people took the flower at their place setting home with them. That was really flattering to me. These made a huge difference and they were such a cheap project. It took about 5 yards of felt, which cost us less than $20.

Photo by JJ Horton Photography

Photo by JJ Horton Photography

Photo by JJ Horton Photography

Wednesday, December 21, 2011

Wedding Wednesday =)

T-minus 9 days till our (second) big day!

I wanted a Harry Potter Engagement shoot. This was our compromise =)

Our "engagament" shoot was such a blast! We had so much fun working with Jessica & Jeremy, and I love that Harry Potter & the Deathly Hallows were able to play a part in our photos. Let's just pretend that my ring is Marvolo Gaunt's & my diamond is the resurrection stone =)

All images courtesy of JJ Horton Photography.

Saturday, August 20, 2011

Felt Flower Napkin Rings


Last week I saw these super cute napkin rings on The Daily Garnish. She had blogged about the baby shower that was thrown in her honor, and part of the table decor were these napkin rings. I absolutely loved them, and wanted to potentially make them for part of the table decor at my wedding.

The problem? She didn't make them and there wasn't a tutorial on how to make them. I tried searching for them online & on Pinterest, but couldn't find what I was looking for. So... I had to make do. I found a tutorial on Jones Design Company (who, by the way, inspired the EPIC accent wall) for making cute little felt flowers. Once I knew how to make the flowers, I'm sure I could figure the rest of it out for myself. I am fairly intelligent =)

Start cutting out the pieces.

You'll need the band, a circle for the center, and 7-8 flowers to be the petals.

Fold the flower in half.

Fold it in half again.

Snip off the end.

Add glue to the end.

Adhere the folded piece to the circle. You'll end up with four pieces on the outside of the circle. Then fill the circle up with your remaining pieces until you've reached desired fullness.

Finished flower and the band.

Ta-da!

Love how this turned out!!!

I didn't photograph the last step, because technically I haven't done it yet. But you glue a pin to the base of the flower, and then you can pin the flower to the edges of the napkin. I've decided not to glue the ends of the band together, because I think it will be much easier to get the napkins & silverware in the holder if I'm wrapping the band around the napkin, instead of sliding it in.

I'm really happy with how these turned out. My flower isn't perfect, but I'm sure they'll get better the more I make them. I also LOVE how quick and cheap they were to make. Hobby Lobby didn't have bulk felt in either navy or hot pink, so I bought the squares, which were 4 for $1.00. I made the flower with one & a half squares. It also took hardly any time. The most tedious part was cutting out the flowers, which took about 10-15 minutes.

We're doing a buffet for the wedding. So since the plates will be by the food, and not on the table I didn't want the table to be empty and boring, and I think this will be perfect.

Edit: They were perfect for our wedding decor! It took 11 people and many, many hours to make enough, but it was totally worth it!

All photos by JJ Horton Photography.

Saturday, July 30, 2011

Ornament Topiaries

A few months ago I saw a tutorial for ornament topiaries on Pinterest. I love them because I love topiaries. And I thought they may be fun as centerpieces for our wedding reception in December.

I decided to make one this weekend to see how it would work. It would have sucked to get all the way to December to make one and find it didn't work for me.

Start with a wooden dowel & a styrofoam ball.

Buddy was intrigued.


Finished!

The ornament part worked out really well. The pot is what I'm concerned about. I just bought a cheap terra cotta pot and painted it navy, but it's exactly that. A cheap pot. So that is definitely not working for me. I think I've decided to go with one from Ikea. It has a wider opening, so I think it will make the whole thing look more balanced.

I think the stick also needs to be shorter. But I do like that the stick is wrapped in navy ribbon. Our colors are navy, pink & green but it is pretty much impossible to find navy blue ornaments. So I thought that the navy ribbon was a nice way to incorporate the color into these.

I'm undecided if I want to use them for my centerpieces, but I'm happy I made one. Now I know it's definitely a feasible option.